

How To Prevent Tomato Plant Worms In The Garden
Jay-Ar has been an online writer for over five years. His articles often focus on gardening and farming strategies.
Tomato plants can grow up to 2 meters tall and can be harvested 90–100 days after transplanting during the cool season (or 60–90 days after transplanting during the dry season). They come in different varieties or cultivars with interesting names like Apollo, Improved Pope, Fortune Maker, Permata, and Diamante.
| Variety | Description | Days Before Harvest | Productive Period | Planting Season |
|---|---|---|---|---|
| Apollo | For fresh market, red orange, medium to large, oblong shape | 35 | 2 to 3 months | Dry Season |
| Magilas | For fresh consumption, pink to red, large size, oblong shape | 30 | 1 to 2 months | Wet and Dry |
| Atlas F1 | Red-orange, medium to large, oblong shape | 40 | 2 to 3 months | Wet and Dry |
| Atlas (grafted-kamlong) | Red-orange, medium to large, oblong shape | 40 | 2 to 3 months | Wet Season |
| Cherry | Red-orange, medium, round shape | 50 | 4 to 5 months | Wet and Dry |
Climate Conditions
Tomatoes can be grown any time of year. Although they are very highly adaptable, these herbaceous plants require a relatively cool, dry climate with an optimum temperature of 21–24°C. In the lowlands, they are best grown from November to February. In hilly areas, they can be grown from September to January. The fruit-vegetables come into season and are plentiful from February to April.
Soil Requirements
Tomatoes can be grown in varied soil types, such as sandy loam to clay-loam with rich organic matter. The ideal soil pH is 6.0–6.5. The plants grow best in slightly elevated areas with good soil drainage. Prolonged flooding or water logged areas should be avoided. During the dry season, make catchments to drain excess water after irrigation. Once you've chosen your site and the type of tomatoes to plant, you can now prepare for planting.
Seedling Production Method
- The seedbed should be located in an area that gets plenty of sunlight. A 1 x 10 m seedbed will grow seedlings for a 1,000 sq m area. To produce seedlings with bigger stems, do not overcrowd the seeds in the seedbed.
- Sterilize the soil by burning rice hull or straw on top of the seedbed for 4–5 hours.
- Mix 10kg of compost with 100 g complete fertilizer and incorporate these into the soil.
- Make shallow horizontal rows 5 cm apart.
- Wet seedbed thoroughly before sowing.
- Sow the seeds in the furrows; then cover lightly with fine soil and place rice straw mulch on top.
- Dust the surroundings of the seedbed with Sevin SP to control ants. Mix 1 tbsp of Vitigran Blue per gallon of water and spray on the seedbed to avoid damping off-a fungal infection caused by excessively damp growing conditions.
- Water the seedbed liberally everyday until seedlings emerge. Upon emergence, water seedlings sparingly.
- To start the seedlings right, mix 1 tbsp urea with one gallon of water and spray on the plants from 7–14 days after emergence (DAE). Shower seedlings with water after applying fertilizer to avoid leaf burn.
- If needed, place plastic roofing over seedbed to protect seedlings from heavy rains.
Transplanting the Seedlings
To prepare the area for transplanting, scatter chicken manure or organic fertilizer on the soil before plowing. Plow the area to incorporate the fertilizer. Dig furrows 75–100 cm apart for the seedlings.
Seedlings are ready for transplanting 15–30 days after they emerge (DAE). Water the seedbeds thoroughly before pulling the seedlings for transplanting to minimize root damage. For wet season planting, use month-old seedlings because these are hardier, taller, and can withstand the impact of rain. For dry season, transplant 25 day old seedlings. After running irrigation water in the furrows, plant seedlings 0.75–1 m apart.
To avoid breaking the stem of seedling during transplanting, hold the roots with the thumb and forefinger then push 3–5 cm deep into the furrow depending on the length of the stem. For seedlings in tray, transplant each seedling together with the soil medium using the same method. If using a grafted plant, push the seedlings 3 cm deep into the ground and cover firmly with light soil. Do not cover the grafted part to avoid infection.
Read More From Dengarden
Irrigation
Depending on the weather and soil, water tomato plants once a week until they start to bear fruit. Irrigate along the furrow to minimize soil erosion and water logging. Tomato plants are very sensitive to flooding; irrigation must only moisten the root area especially during flowering up to the last harvest.
Controlling Pests and Diseases
Most pests and diseases that affect tomato plants are common throughout the year. With tomatoes, it is best to use organic or natural insecticides such as Trichogramma chilonis or native hot pepper. Chemicals should only be used as a last resort.
If the disease is caused by a fungus, spray with fungicide and remove the damaged leaves. If caused by a virus or bacteria, pull out the affected plant, then bury or burn it immediately to prevent spreading to other healthy plants.
Harvesting
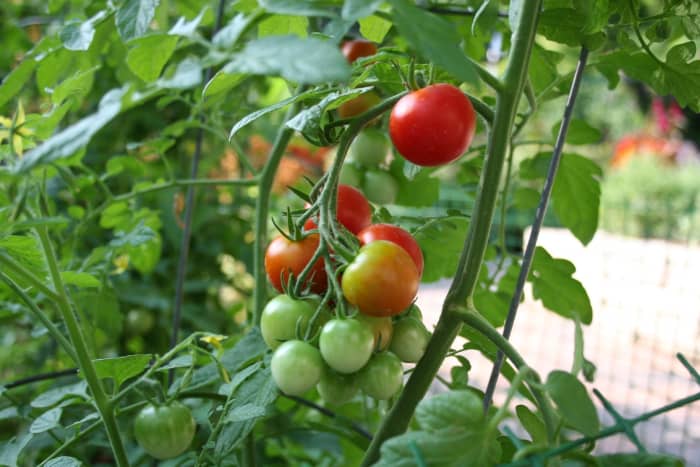
Tomatoes can be harvested at the mature green stage, or when the fruits show signs of a pink blush or reddish streaks. Harvest when it is cool, usually in the early morning. Avoid exposing the harvested fruits to direct sunlight. Avoid harvesting on rainy days. Harvest frequently to stimulate the plant to produce more fruits.
Tomatoes bound for the fresh market or long-distance shipment should be harvested at the mature green stage. Those meant for processing should be picked at the ripe-red stage. Store your harvest in crates lined with banana leaves or newspaper to avoid bruising. Mature green fruits will ripen within one month at room temperature. Pink fruits will fully ripen within three days at room temperature. Refrigeration slows down the ripening process.

Seed Processing
Squeeze out the seeds and juice from a ripe tomato. Allow this to ferment for 1–2 days. Rub the seeds gently over a fine strainer to remove the slippery coating. Soak the seeds in water to allow immature seeds to float. Discard the water together with the floating seeds. You want the good seeds that sinks to the bottom.
Air-dry the good seeds for 2–3 days; then dry them in the sun for 4–5 more days. You can also dry them in the oven at 30–40°C. Pack the dry seeds in moisture-resistant packaging materials, such as thick polyethylene plastic, aluminum foil, tin cans, or glass jars. Seal well.
Keep seeds away from moisture and high temperature. The cooler and drier the storage area, the longer the life of the seeds.

This content is accurate and true to the best of the author's knowledge and is not meant to substitute for formal and individualized advice from a qualified professional.
How To Prevent Tomato Plant Worms In The Garden
Source: https://dengarden.com/gardening/Growing-Tomato-Plants
Posted by: lomaxbuting.blogspot.com
0 Response to "How To Prevent Tomato Plant Worms In The Garden"
Post a Comment